The Nintendo Switch System has recently launched a new update for version 14.0.0. As part of the changes, the Japanese video game firm wants to develop a revamped functionality for its services that will serve the players.
With that, you can now sort all your Switch games into a particular folder/s so you can put them in a more organized way. This was made possible by the fresh "Groups" feature, which is accessible from the menu of the console's screen.
Here's how to get started with the systematic arrangement of your games into a specific location.
Nintendo 14.0.0 Introduces 'Groups' Feature
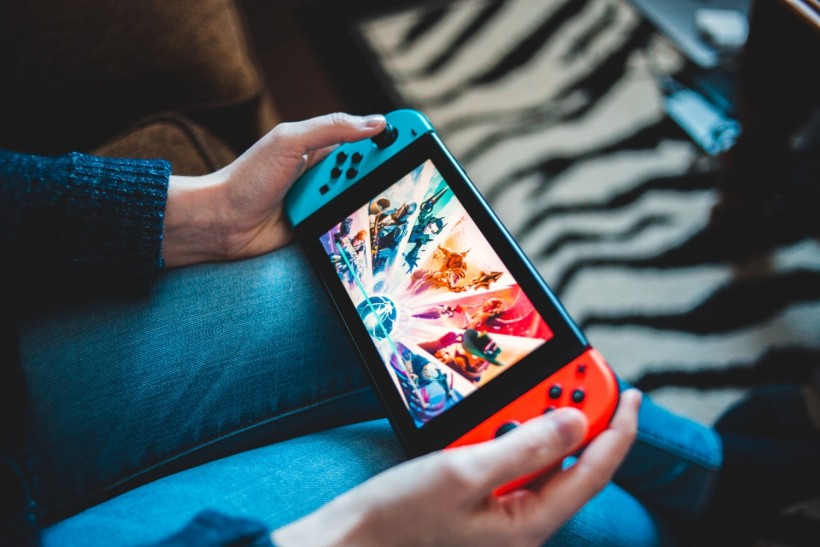
Previously, there were no specific categories wherein you could put your games for easy arrangement. Now that the Switch received a new update for the 14.0.0 version, you can sort them by genre, developer, and other elements.
If you want to use the Groups feature on your Switch console, you need to have more than 12 games in your library.
Following the arrival of this stuff, you will be able to create up to 100 groups wherein each of them can contain a maximum number of 200 games that you can access and play.
Related Article: Nintendo Switch 12.1.0 Patch Update Notes Guide: What Features Players will Expect
How to Arrange Your Games in Nintendo Switch Folders
On Wednesday, Mar. 23, Mashable wrote a guide on how you can efficiently organize all of your Nintendo Switch titles into folders or partitions. To do that, please follow the procedures below for reference.
First, begin by downloading the up-to-date version 14.0.0 on your Switch console. In case you are already connected to Wi-Fi, the updates will be automatically downloaded on your Nintendo gaming machine.
If you want to know if your software is updated, go to your console's Home Menu and tap the System Settings. After that, you need to browse over the left menu and choose System.
The second step that you need to do is to create a group. Once you have downloaded the software version, you can now head to the Home menu and explore the "All Software" button.
Just a rule of thumb: this won't work if you have less than 12 games in your system, so make sure you check that beforehand. To see your games by groups, you need to tap the L button on your controller. Later, a "Create Group" message will appear.
The third step is to select the games you want to relocate from your Switch library. After choosing them, tap "Next" or the "+" button.
Finally, you are now ready to sort your games depending on your preference. To do that, click A to choose the games you want to transfer. After that, you can now proceed in naming your group. There you go. You now have a more organized folder for your games.
Read Also: 'WWE 2K22': Best Dream Matches to Play For Hardcore Wrestling Fans
This article is owned by GameNGuide
Written by Joseph Henry


