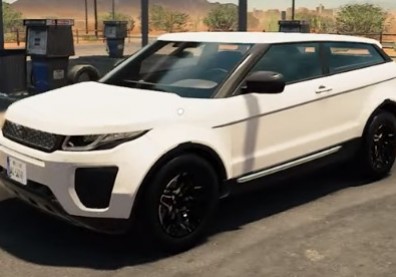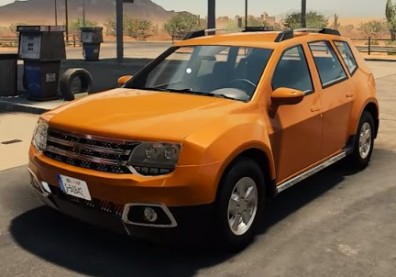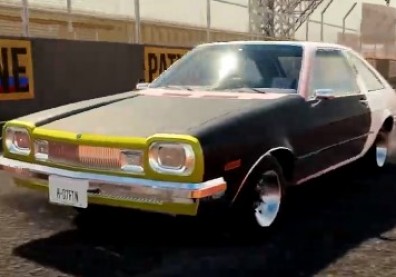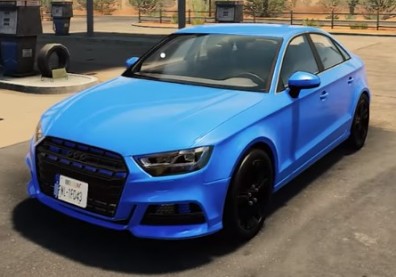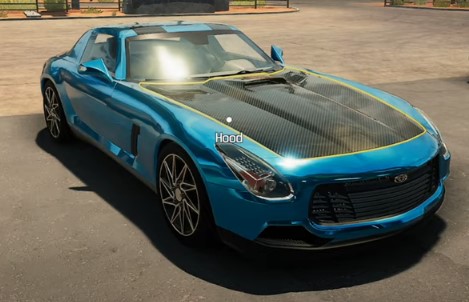
In Car Mechanic Simulator 2021, players can restore cars that are available in the game, whether if it is pre-installed, came from the downloadable content (DLC) car packs, or downloaded as a car mod from the Steam Workshop, using more than 4,000 car parts.
They can either sell it for additional profit and for future car projects, as well as added car parts and upgrades, or keep it as part of their garage collection.
They can also repair or restore different kinds of cars, ranging from classic Americana muscle cars to compact cars to sports cars to full-size sedans to hatchbacks to grand tourers.
One of the said cars is the Olsen GTR, or in real life, it is the 2010 Mercedes-Benz SLS AMG, a limited production grand tourer made by Mercedes-Benz.
The said car saw production from January of 2010 to 2014, with an electric car variant made by the same manufacturers in 2013.
How to Restore an Olsen GTR
Players can buy the Olsen GTR in either the Junkyard, the Car Auctions, or the Car Salon. Once they have purchased the said car, according to Pityku Customs' YouTube video, they will wash its body and interior in the Car Wash, then they will move it to one of the Car Lifts in their Garage.
From there, they will drain whatever oil and other fluids, including the brake fluid, the coolant, the power steering fluid, and the window washer fluid, that is remaining inside of it using the Oil Drain machine and the Drain Tool, respectively.
Afterwards, they will disassemble the whole car, and get the parts that are need to be either repaired or replaced, until what is left on the Car Lift is the body frame. Then, they will repair the said body frame using the Wielding Machine, and then, they will detail its interior.
Then, they will repair the parts that they can still use in the restoration project by placing them on the Repair Tables in their Workshop. From there, they will play a minigame where they will hit green tabs in order for the said parts to be fully fixed.
On the other hand, the parts that are impossible to be repaired will be sold instead for additional Credit, which they can use to buy new replacement parts, and Scraps, which they can use to upgrade several parts.
Once they got the repaired or replaced parts, they can start reassembling the whole car, starting with its engine, which is a V8 DOHC Supercharged.
To do this in the Engine Stand, they will need engine block, the crankshaft, the pistons with their rings, the crankshaft bearing caps, the rod caps, the oil pan, the oil filter, the flywheel, the clutch plate, the clutch pressure plate, and the clutch release bearing.
They will also need the engine heads, the cam shafts, the spark plugs, the exhaust manifolds, the engine head covers, the ignition coils, the covers for the coils, the intake manifold for the supercharger, the supercharger unit, the fuel rails, the fuel filter, and the throttle.
They will also need the cam gears, the timing belt, the timing cover, the alternator, the power steering pump, the idler rollers, the crankshaft pulley, the water pump, the water pump pulley, the serpentine belts, and the belt tensioner.
Once they finished building the engine, they will remove it from the Engine Stand, and install it inside the engine bay using the Engine Pulley.
Afterwards, they will install the rest of the car's internal parts such as the fuel tank and pump, the battery, the gearbox, the starter, the reservoirs, the brake servo, the radiator with its fan, the ECU type A, the air filter with its base, cover and clips, the fuse box and cover with its new relays and fuses, and the ABS pump and module.
Then, they will assemble the rest of the car's parts, including those for the suspension, exhaust pipes, and braking system, as well as the wheels, the body kit, the windshield and other glass panels, the lights, and the interior such as the steering wheel and seats.
Once they have completely reassembled the whole car, they will fill it up with a new batch of oil and other fluids, then they will paint its body in the Paint Booth.
Afterwards, they will move it to the Test Path room to realign its lights and wheels, as well as testing its newly-installed brakes. Then, they will transfer it to the Dyno Test room to tune up the gears in its gearbox and perform a dyno test.
Once they are satisfied with the results, they can now test run their very own Olsen GTR grand tourer.


