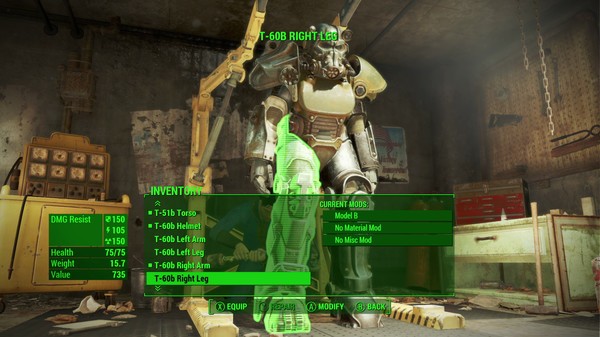
Power Armor in Fallout 4 serves as a vital tool for survival and combat effectiveness. While its benefits are undeniable, it's crucial to acknowledge that Power Armor, like any other equipment, is subject to wear and tear. Knowing how to repair Power Armor is essential for maintaining its effectiveness in the game.

(Photo : Bethesda Game Studios / Screenshot taken from Steam.)
Read Also: Dive Back In: A Guide to Rehiring Pawns in Dragon's Dogma 2
Step-by-Step Guide to Repairing Power Armor
Locating Power Armor Stations
To initiate repairs on Power Armor, players must first locate a Power Armor station. These stations are distinguishable by their two yellow posts resembling cranes, accompanied by two long platforms. Identifying these stations is essential as they serve as the primary hub for repairing and modifying Power Armor sets.
Repair Process:
- Approach the Power Armor station while wearing a suit of Power Armor.
- Exit the Power Armor at a short distance from the station.
- Approach the station and select the 'Craft' prompt (X on PlayStation, A on Xbox).
- The Power Armor set will teleport onto the station, allowing players to initiate repairs or modifications.
Repairing Armor:
- With the crafting menu displayed, select each piece of armor to highlight it.
- Look for the small dot indicating that the piece is equipped.
- Check the health stat displayed in the information box on the lower left side of the screen to determine if repair is needed.
- Press Y (Xbox) or Triangle (PS) to repair the armor, confirming the required materials for the repair.
Finding Power Armor Stations
In addition to crafting stations, players can find Power Armor stations in various locations throughout the game world:
- Red Rocket gas stations
- Industrial locations/factories
- Military bases/installations
By following this step-by-step guide, players can effectively maintain and repair their Power Armor, ensuring optimal performance and survivability in the wasteland of Fallout 4.
Related Article: A Guide on How to Easily Install Mods in Shadows of Doubt


