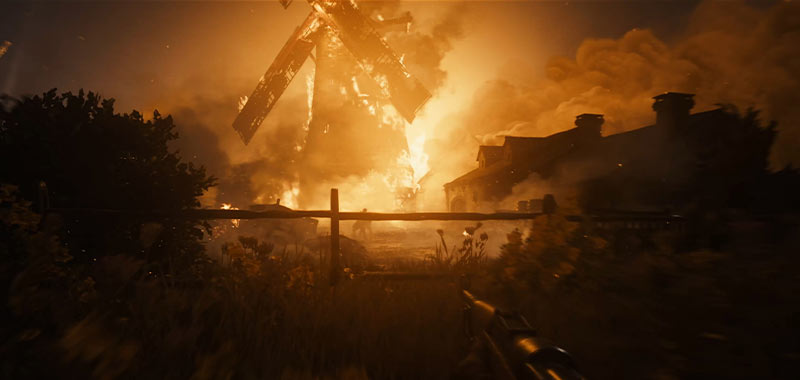
In Call of Duty: Vanguard, players will take on different in-game Campaigns, or missions, that are focused on different areas that are involved in World War II.
One of the said Campaigns is Operation Tonga, which is the codename given to the airborne operations done by British as part of their D-Day landings in Normandy, France.
In the said Campaign, Kingsley must need to evade being captured by the Nazi soldiers in order to regroup his fellow Allied soldiers and complete their mission of weaken the coastal defense line.
Clearing Operation Tonga - Take the Bridgehead
Once Kingston regrouped with his fellow Allied soldiers, according to IGN, his special ability be unlocked, which will provide a barrier to get their teammate to clear out the debris. Once it is clear, they will go towards the next area, then turn right to replenish their ammo.
READ ALSO: 'CoD Vanguard' 'Operation Tonga' Guide: How to Clear the Campaign's First Half
Afterwards, they take the path to the bridgehead, and follow the path down the hill, then to the right. Then, they will crouch to maintain their stealth.
From there, they will command their allies to rally towards the gun battery in either one of the two directions - target the troops inside a military truck or the those guarding at the gates.
While their troops are taking care of their designated areas, players must clear the area along with other Allied soldiers.
Once they approached the gate, they will use it as a cover, then order their troops to begin suppressive fire against the Nazi soldiers in order to give themselves the opportunity to move either towards the left or the right side of the area.
Moving to the left will take them to an open-air ammunition depot and a lumbar yard, which will give them the chance to flank several enemy emplacements, while moving towards the right will require them to surge through a house, which will give them cover.
Once they clear the area and approach the end of the row, the military truck will withdraw, but they can take it down by commanding their troops towards it. Then, they will run towards the left, and seek cover in order to flank it and take down its gunner.
Once the gunner is down, they will proceed towards a machine gun emplacement, where they will command again the troops to take down its gunner. While they are laying down a suppressing fire, they will run forward, then duck into cover until the gunner resumes its attack.
They will repeat the process until they have the chance to move forward, then to the cover on the right side, which is near the machine gunner. From there, they will find a grenade that they can throw towards the gunner's nest.
Once it is clear to go, they will follow the rest of their team forward and hop into the back of the truck to proceed to the next part of the mission.
Clearing Operation Tonga - Reach the Gun Battery
After a cutscene, according to GFinity, players must go towards Webb to plan the next course of attack against the Nazi soldiers in the area. Afterwards, they will go towards the clifftop, and use the binoculars to access the situation.
Then, they will go to a military truck, enter inside of it, and drive towards the minefield. Once they are in the said area, they will bail out of the truck, otherwise, they will die after it explodes once it made contact to any number of landmines.
Once the defences are clear, they will enter a trench to take cover against enemy fire, then they will command the troops to charge towards the gun battery.
Once they are in the area, they will command them again, this time to clear the bunker, then they will head towards the stairs and open its double doors. Once they are in the double doors, they must work their way through the trenches as fast as they can until they reach the two transporters.
They will be using them as cover until their squad regroups. Next, they will stick behind two half-tracks, and advance towards the hill to the next bunker.
Once they clear any remaining Nazi soldiers, they will head towards a small window, where there is machine gun battery trying to stop them. They will command one of its troops to throw an explosive through the window to stop the gunfire.
Once the bunker is clear, Evans will run towards the door and opens it. From there, they will take a torch and use it while following Evans to the corridor towards one of the two gun battery cannons. They will approach it, then plant several explosives.
After they planted said explosives, they will regroup with Evans and open a green door that will go deeper into the bunker. They need to be careful while entering, as two Nazi soldiers will try to ambush them with a potential bayonet charge.
Once they evade the said charge, they will continue on towards the second green door, where a soldier is trying to kill Evans. They need to attack the said soldier quickly with a swift melee attack.
Once they progress further, they go towards a staircase until a grenade suddenly appears. They will need to wait for it to detonate before moving forwards.
Once the room is clear, they go towards the third green door, then they will open it to reach towards the second gun battery cannon, where they will plant the explosives.
Once the explosives were planted, they will head up towards a ladder, and prepare the flare ready to signal the end the mission. However, the flare appears to be ruptured, leaving them unable to prevent the bombardment from launching.
Once the mortar is firing, they will run towards Webb's location, but as they went towards him, a mortar will knock them down to the ground, leaving them dazed and confused. Once the effect wears off, they will continue heading down the stairs until they approach an injured Webb that is lying on the ground.
Once they are in the area, they will grab the flare gun and fire it into the air, signaling the end of the mission.
READ ALSO: 'CoD Vanguard' Zombies Guide: How Does Pack-A-Punch, Perks Work


