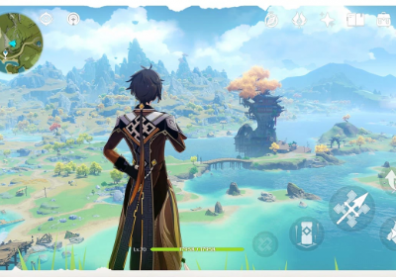
Genshin Impact's Version 2.0 has offered a lot of new content since its recent release. This includes a new region in the form of the archipelago of Inazuma, including its possible domains, new characters, weapons, and quests. One of said quests is the Sacred Sakura Cleansing Ritual.
This quest, according to Polygon, will be a long chain of sub-quests, which comprised of solving several puzzles, collecting items, and unlocking of content within Inazuma.
In order to start the said quest, according to Game Rant, players are required to unlock Inazuma, as well as having an Adventure Rank 30 and completed the prologue to Chapter 2 of the Archon Quests, "Autumn Winds, Scarlet Leaves."
the wards in Sakura cleansing ritual sounds familiar...#GenshinImpact ft. Ayakahttps://t.co/7oVU7zYlKT pic.twitter.com/owNbU6bTPb
— Lashe / Wister 🕊🪄 (@flaqqu) July 25, 2021
Once they completed these pre-requirements, they need to speak with Katherine in the Liyue Harbor Adventurer's Guild. This will start the "Setting Sail" quest which leads them to a boat that will carry them to Inazuma.
Once in the area, they will need to go to the Konda Village and speak to Kazari. She then gives the players the start for the five-part quest.
This guide will show the players how to accomplish the quest's Part 1, "A Strange Story in Konda," and Part 2, "Sacrificial Offering."
Part 1 - A Strange Story in Konda
According to Polygon, after speaking with Kazari, players must need to use an Electro ability on a stature that is in front of her. Next, they need to pick up a ward in front of the statue.
Afterwards, they need to speak to four of the locals within the Konda Village - Futaba, who is in front of the chief's house, Saimon Eri, who is in by the tomato plants, Konda Densuke, who is standing on the porch of a house, and Takeru, who is standing on the roof of a house.
Next, they will head towards the three marked areas in the map, where they will pick up three things from those marked areas - a purse, a cargo bag, and a list. In that order, you will give the items to Konda Densuke.
Next, they need to climb up to Densuke's roof and grab his diary. Next, they will head over to a marked area, then defeat the Treasure Hoarders, then pick up the Old Key. They need to use the Old Key to open the village well and head down while using the Electrograna to pass through the barriers.
Once they get to the Torii gate, they will place the Ward in the small shrine in front of it. Then, they will interact with the other small shrines in this order - one that is in front of the other on the left side of the Torii gate, the one farther right, the one behind it also on the right, the one near at the Torii gate on the left, and the one on the farthest left.
A mini-boss will appear and attack them, but the said mini-boss will not be too hard to defeat. After defeating it, they will use the Electrograna to the right of the gate and climb up the wall past the barrier, where they will see a room that has a Precious Chest. They need to open it to obtain a key, which is important in the next quest.
Part 2 - Sacrificial Offering
This second part of the quest needs to be accomplished, according to PC Gamer, as it will unlock the Waypoint Teleporter and a domain near the Perpetual Mechanical Array boss.
In order to accomplish this quest, players need to head towards the abandoned shrine that is northeast of the Konda Village.
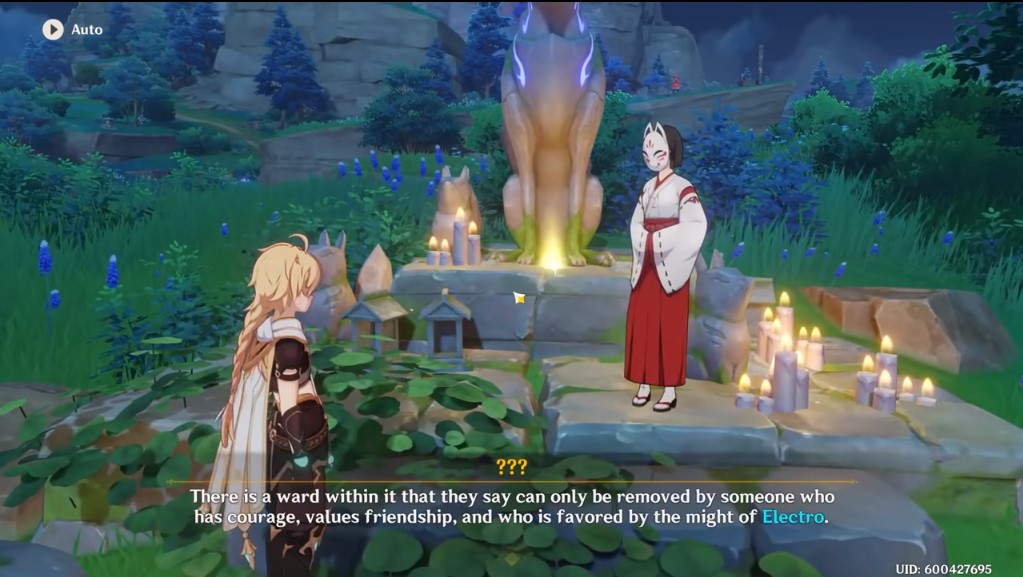
From there, they need to investigate the shrine by interacting with the Mysterious Shadows, which each of them will move towards a different location after talking. They need to talk to those shadows until they are all grouped by the small kitsune statues to the east of the shrine.
Two of these shadows will on a path towards the main part of the shrine, while one of them will on the roof of the shrine.
Once they are all lined up, chests will appear along with an item that will popped out in the center of the statues. Once the players will pick up the item, they need to head towards the Grand Narukami Shrine, where they will talk to a marked NPC.
From there, that NPC will them the Memento Lens, which they will need to equip from the gadget pouch of their bags.
Then, they will go back to the same abandoned shrine from before, and use the Memento Lens on the small kitsune statues with glowing eyes.
Interact with the large kitsune stature to the east of the shrine and select the following in this order - "In the name of Narukami's envoy," "And of the Hakushin bloodline," and "Bring forth the fried tofu."
Players need to use the key obtained in the first quest to unlock the gate under the shrine, which is around the small pond to the south of the shrine.
Place the Ward in the small shrine in front of the Torii gate, then approach the small shrines to change their symbols base on the following - "3" for the shrine that is far left, "3" for the shrine that is right behind the Torii gate, "2" for the shrine that is beside last one on the left, and "3" for that shrine that is farthest right.
Much like the first shrine, a mini-boss will appear, and players need to defeat it before accomplishing the second part.


