In Minecraft, rails are one of the most common ways players can use within the game for transportation purposes, ranging from moving inside the mines to creating rollercoasters and rail systems to travel across several places in the game.
There are different types of rails that players can explore in Minecraft according to an article by Sportskeeda. Each of these rails have their uses aside from transportation and how they create. One of which is the Powered Rails, the second most common type of rail.
How to Make the Powered Rails
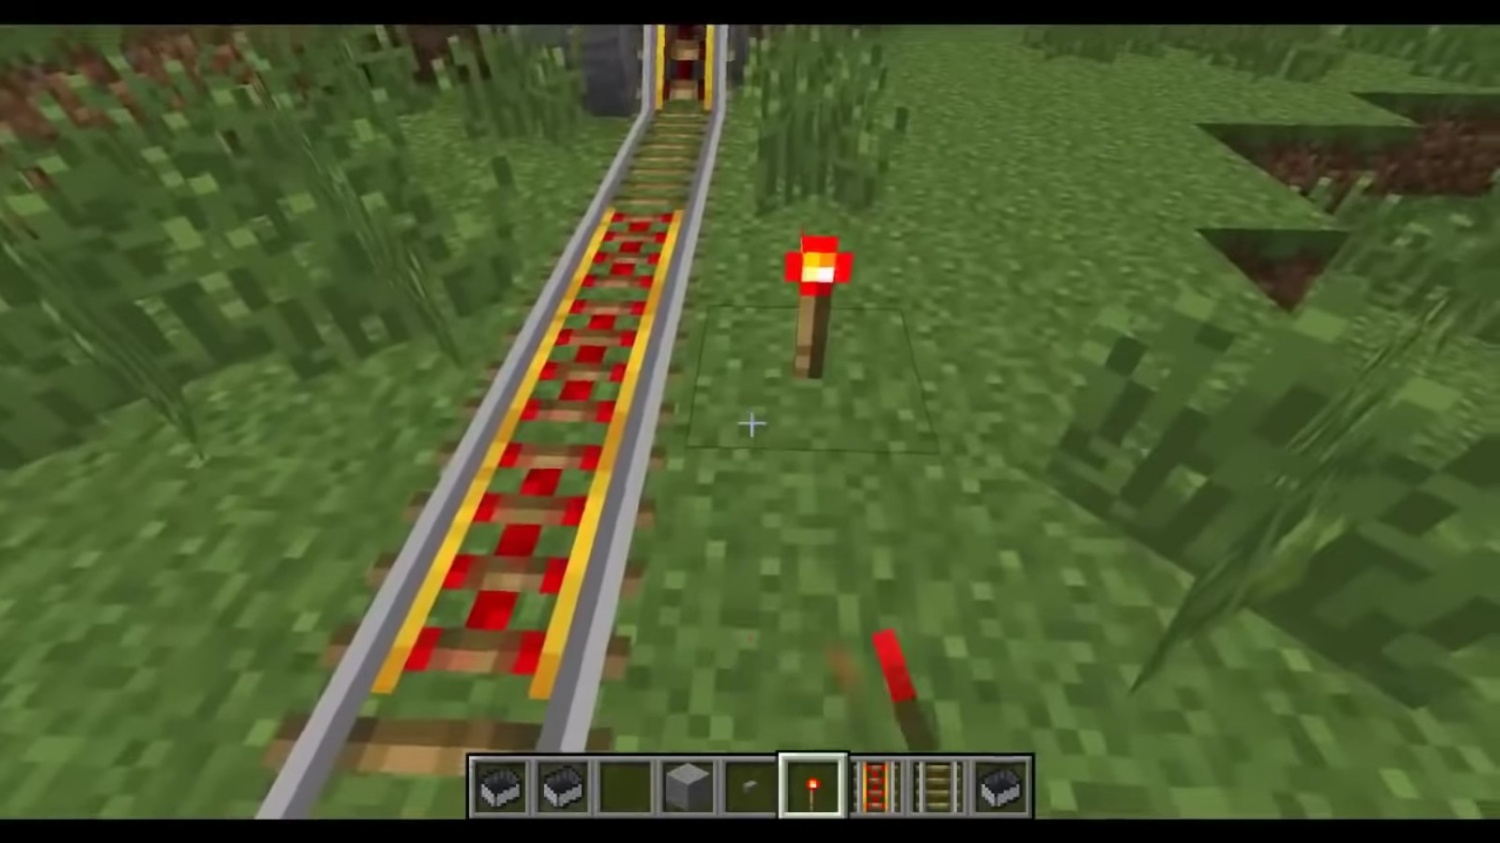
Powered Rails, by appearance, may looked similar to the regular rails in-game except with the two yellow lines along the metal rails and red intersecting lines in the interior.
I made a pretty convincing conveyor belt in Minecraft using furnace minecarts and powered rails - #minecraft pic.twitter.com/w3KCoCmYfs
— 4Minecraft (@4Minecraft_) September 17, 2017
According to Game Rant, building said rails required a hefty amount of investment of materials and can be quite a drain on a player's resources, particularly gold.
In order to build your very own powered rail, you must first acquire gold. Gathering gold became easier during the game's "Caves and Cliffs: Part 1" update. According to a separate guide from Sportskeeda, players can either mine gold inside a cave or do strip mining in a specific spot within the game.
Gold can be mined using the iron pickaxe, and can be smelt into a gold ingot, which is one of the essential building block in making your own powered rails.
The other two materials, Redstone dust and sticks, can be acquired easily. According to Game Rant, redstone dust can be acquired from a drop from mining for a redstone ore using the iron pickaxe, while sticks can be obtained by crafting using wood planks.
Powered rails required six gold ingots, a stick, and a redstone dust. Position the said gold ingots on the side, then place the wood stick on the middle, then the redstone dust in bottom middle, bottom of the wood stick.
Once created, these powered rails can be placed anywhere just like the other rails in Minecraft, except the fact that these rails need power. Redstone dust "wires" within those tracks can transmit power, causing them to light up, the rails become activated, and accelerate a mine craft.
Top Three Ways to Use Powered Rails
Once created, the powered rails have a plethora of ways on how to use them. Sportskeeda sums them up into its article, saying that there are three ways in doing so.
Firstly, powered rails can maintain a minecart's top speed. This is after a fact that these carts can lose speed after passing an amount of blocks. You can maintain its speed by placing a powered rail every 38 blocks after the initial three powered rails.
Another better way to use these rails is by powering it using a redstone torch that can be neatly placed under the blocks where the tracks were placed. They can also place the said redstone torch to the side of the block or place the rail on top of a redstone block.
Finally, you can combine both powered rails with the detector rails. The detector rails can turn the powered rails on when a minecart was placed above it. This will eliminate the need of putting either a redstone block or a restone torch below the tracks.


